
Table of Contents
Editor Toolbar Viewing Your Drafted Article Contacting the Help Desk / Support ChatSubmitting Your Draft| OVERVIEW |
|---|
Articles on Concierge are created to help guide / provide understanding and knowledge to topics that you're learning or answers for questions you may have.
Articles on Concierge are organized by categories, which are made for organization and easy access. You will be able to find articles that are specific to your job department, your specific property brand, and or things in general that pertain to your job.
Help create SOP (Standard Operating Procedures) as articles, to help yourself and others, using Concierge.
Basic Editor Toolbar Functions
When you are creating an article, you will see these icons / buttons at the top, known as the editor toolbar.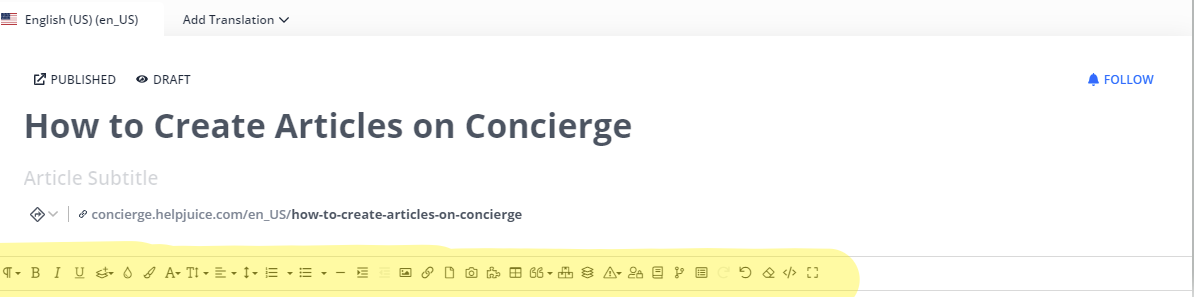
Here is a guide to explain what each button does on the editor toolbar.
| Symbol | Purpose |
|---|---|
 Paragraph Formatting Paragraph Formatting |
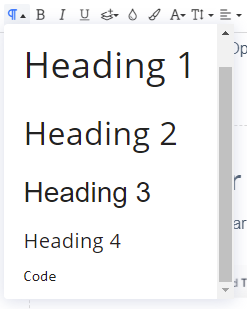 Once clicked, there is a little window that drops down. Once clicked, there is a little window that drops down.This provides different sizes for the font you'd like to use for a header. |

Bold, Italics, Underline
|
This is your standard BOLD, Italics, and Underline options, that you would see in other programs such as Microsoft Word, Excel, Google Docs, Google Sheets etc. |
 Inserting Extra Formatting Inserting Extra Formatting |
 If this button is clicked, it drops down, with a horizontal selection of extra formatting options that you can select. If this button is clicked, it drops down, with a horizontal selection of extra formatting options that you can select. |
 Text Color & BG Color Text Color & BG Color |
You can use these options to insert and change the color of the background areas and fonts. |
 Font Family & Font Sizes Font Family & Font Sizes |
These two buttons are used to change the font options and sizes. |
 Alignment & Line Height Alignment & Line Height |
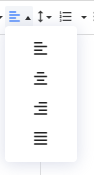 These options will drop down as well, giving you more options to help align the text and items in the article, and set the spacing between the lines/paragraphs. 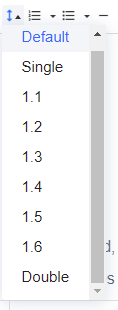
|
 Numbered List / Ordered List Numbered List / Ordered List |
 This button drops down to offer you other numbering options for lists. The most common use for it, is to create numbered lists. I.E. 1...2...3...4...5... |
 Bullet List / Unordered List Bullet List / Unordered List |
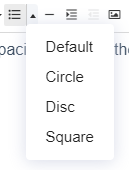 While this button, drops down to offer you other bullet options for your lists. |
|
^^This button is used to insert a horizontal line. Which is pretty helpful, when you want to create a break between certain photos or paragraphs. It looks really light in the editor, as you can see above, but when you see it in the actual article, it will be darker, like the line below. 
|
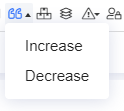
 Increasing / Decreasing Indents |
The decreasing indent button, is usually grayed out until you've selected the increasing indent button. The increase indent button is helpful when you're making a bullet list. For example...
|
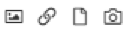 Inserting Photos, Links, Files & Videos
|
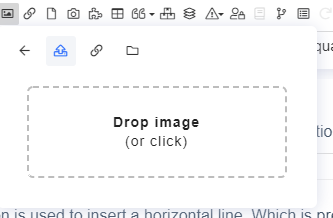 For photos, the button will drop down to this box. You have the option of dropping the image to that box. The next option over (with the chain link symbol), allows you to insert a photo by URL. And the last option (looks like a file folder), allows you to browse your computer for the photo, that you'd like to insert. 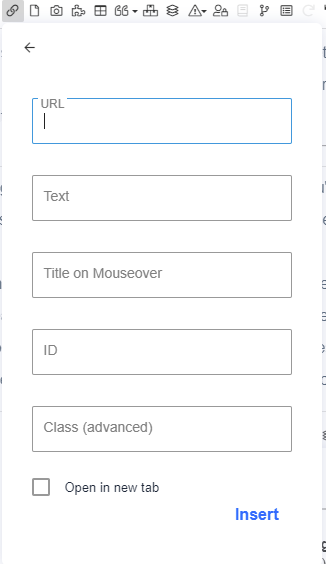 This chain link icon (is different), drops down a menu with options to insert links. You can use this to insert the link, what you'd like the hyperlink to display text as, etc.  This icon, allows you to upload files from your computer, that you'd like to include. 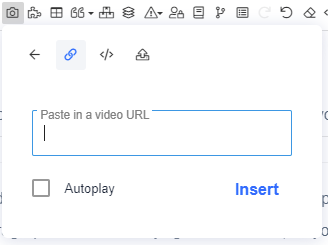 The camera button, opens up to allow you to select if you'd like a video to autoplay, insert a video link (I.E. Youtube). You can also choose the icon with the brackets, to embed the video code into the article, OR you can choose the last icon, which will allow you to upload a video from your computer into the article. |
 Inserting Tables
|
Clicking the inserting tables button, will drop down a window that allows you to select how many rows and columns that you would like for your table. After creating the table, if you click inside of the table, a miniature rectangle pops up. That is the table's editing box. The editing box, allows you to add a header, deleting the table, adding and deleting rows, adding and deleting columns, editing table styles, merging and splitting cells, cell background colors, vertical alignments, horizontal alignments, or selecting cell styles. |
 Quote
|
 Using the quote button, allows you to put things in a shaded, look at me quote, and decreasing will remove the quotation. Using the quote button, allows you to put things in a shaded, look at me quote, and decreasing will remove the quotation.For exmaple : 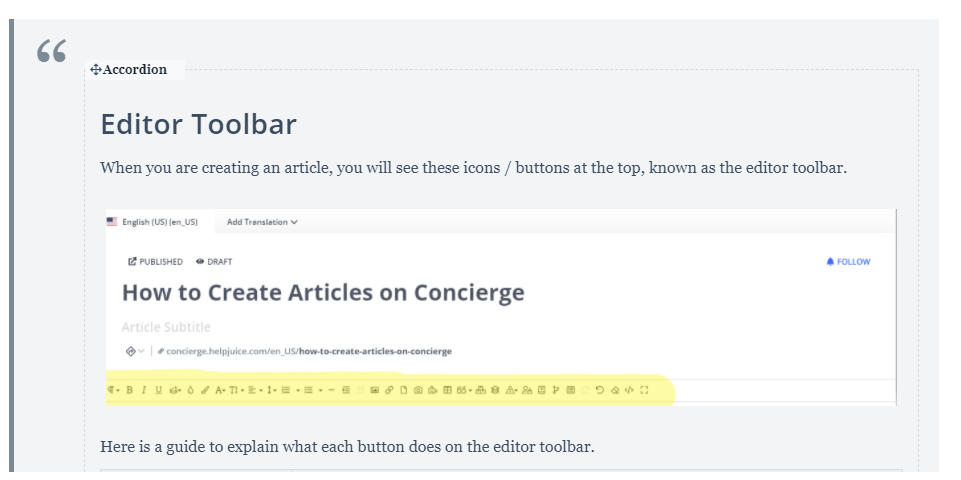
|
 Insert Tab
|
By using this button, you can create a table/box with tabs. Each time you click to insert a tab, a new editing tab box will appear. As long as they are consecutive, they will form one box with X amount of tabs. For example: 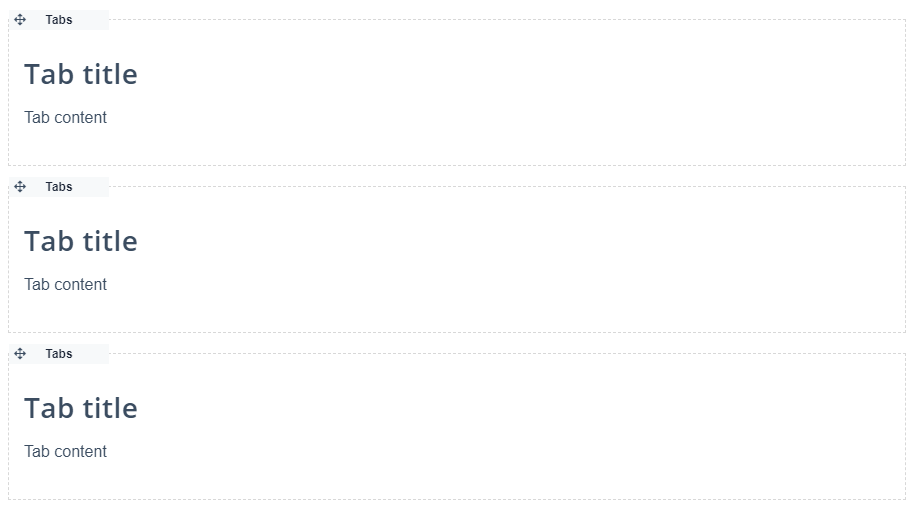 Will give you a finalized look of... Will give you a finalized look of...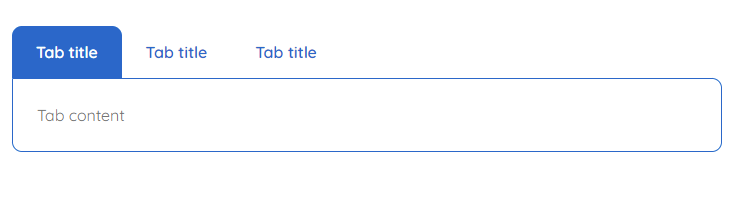 I recommend about 4-5 tabs, no more than that, because the names on the tabs start getting squished. I recommend about 4-5 tabs, no more than that, because the names on the tabs start getting squished.If you space the tab editing boxes by 2 spaces, then it will create a separate / new box of tabs. For example: 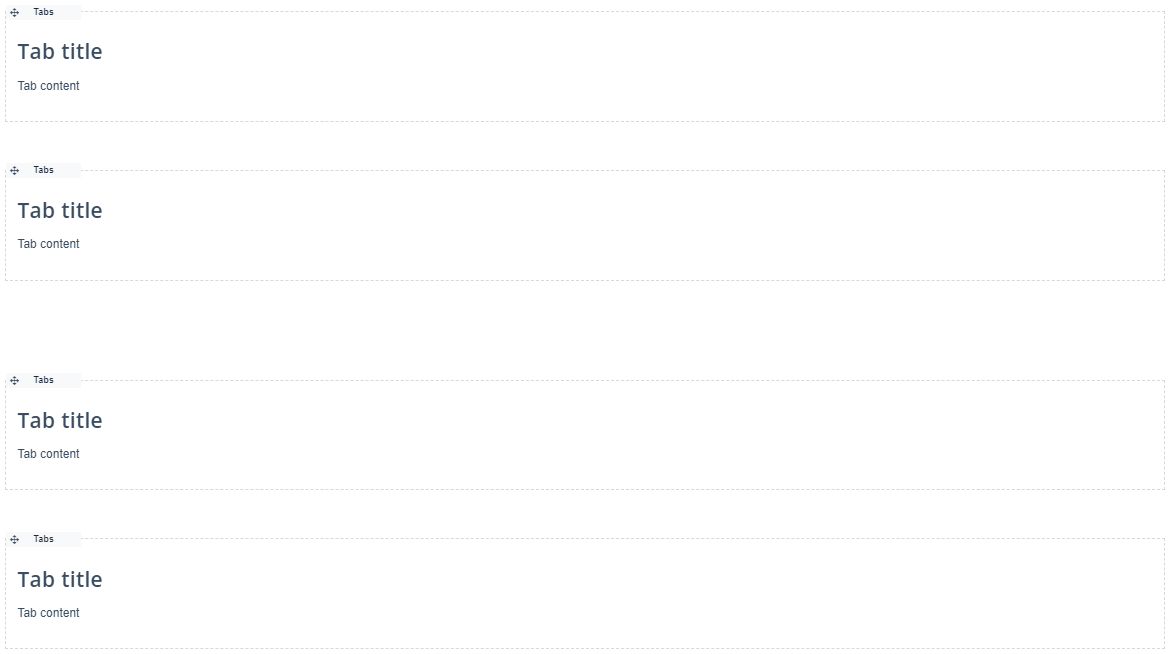 Will give you... Will give you...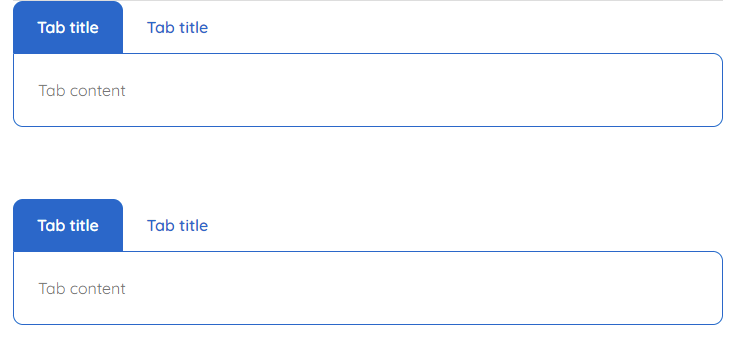
|
 Insert Accordion |
When inserting accordions, the accordion boxes look like the tab boxes. They simply drop down/open and close when clicked on. For example: When the accordion is closed on the published page.  And when you click on the accordion section on the published page. 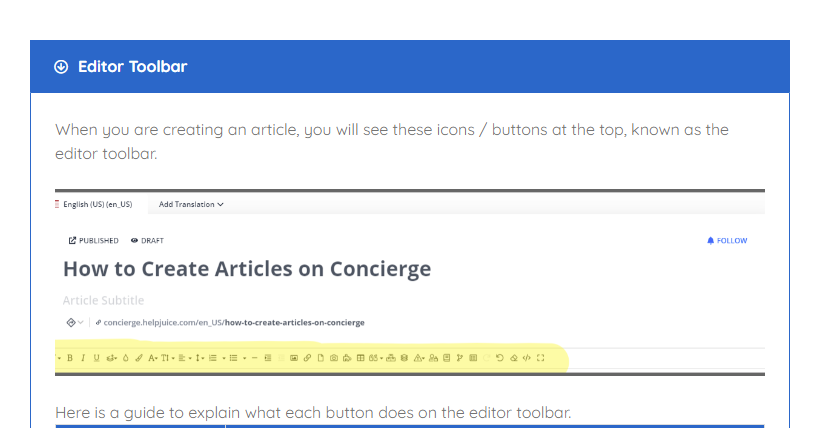
|
 Insert Alert Block Insert Alert Block |
 Clicking to insert alert block, will drop this box down. You have the ability to choose if you'd like highlighted sections, each colored section will help highlight areas. The titles are all customizable (I.E. Info, Warning, Success, Error), just like the panel titles are for the tabs and accordions. |
 Insert Internal Block Insert Internal Block |
Inserting internal blocks, allows certain users within the company to view information/sensitive data on the topic, that might not pertain to other groups/public. 
|
 Insert Decision Tree Insert Decision Tree |
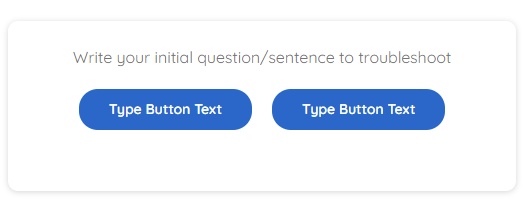
Decision trees are awesome for writing articles, that might have a question, with multiple answers/solutions. It's sort of similar to the tabs, but with buttons for the different answers to the question.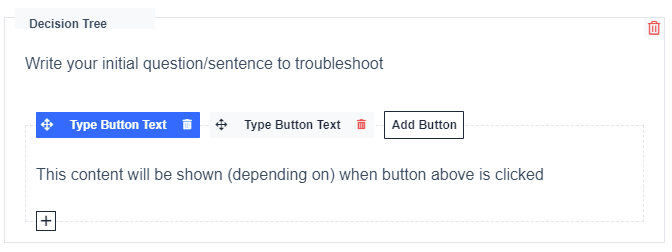 Just fill in the areas by entering your question. Next you'll customize the "Type Button Text" for the first tab. Then you'll write the answer for that option in the box below the button. Then click "add button" to add the next button for viewers to click on, to see the second answer option.
When you click on either of those buttons, it will take you to something that looks like this, but with your solution/answer in it. 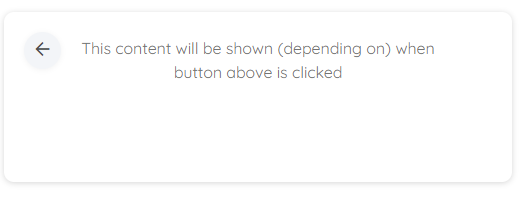
|
 Insert Table of Contents Insert Table of Contents |
Clicking on this, will drop down a box, with all of the Header Titles for the sections in your article. You can check and uncheck items you'd like to be included in the article.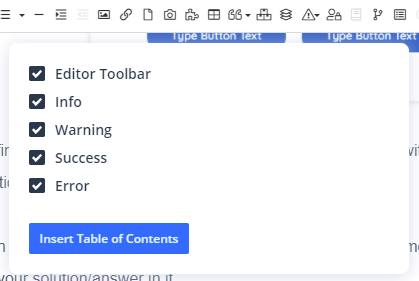 Once the table of contents in inserted...it will look like this on your draft page. Once the table of contents in inserted...it will look like this on your draft page.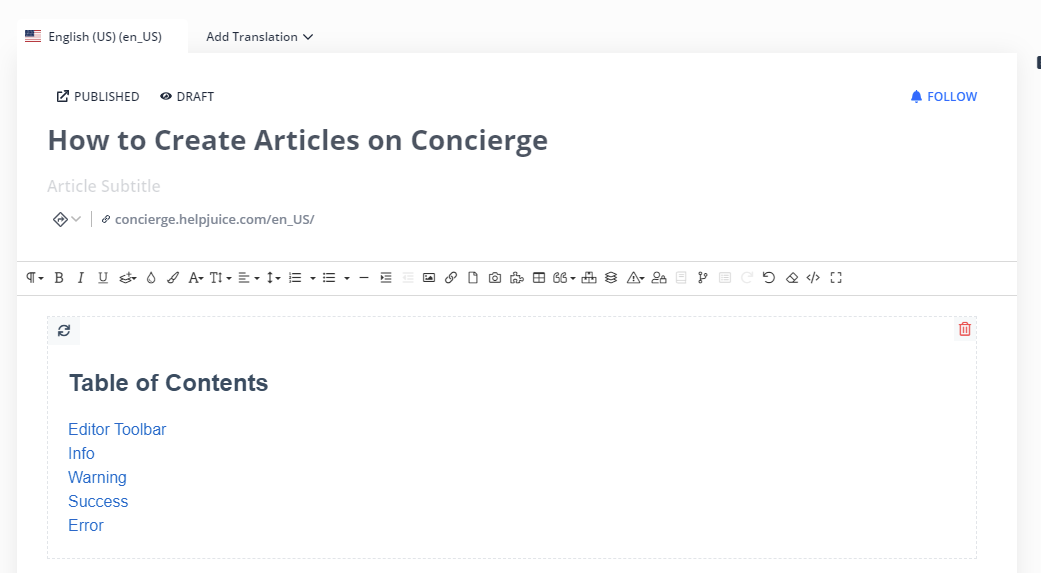 But on the published article, you will see the table of contents to the right side of the page, and it scrolls with the page. If the viewer clicks on the items in the table of contents, it jumps to that section automatically for easy navigation. But on the published article, you will see the table of contents to the right side of the page, and it scrolls with the page. If the viewer clicks on the items in the table of contents, it jumps to that section automatically for easy navigation.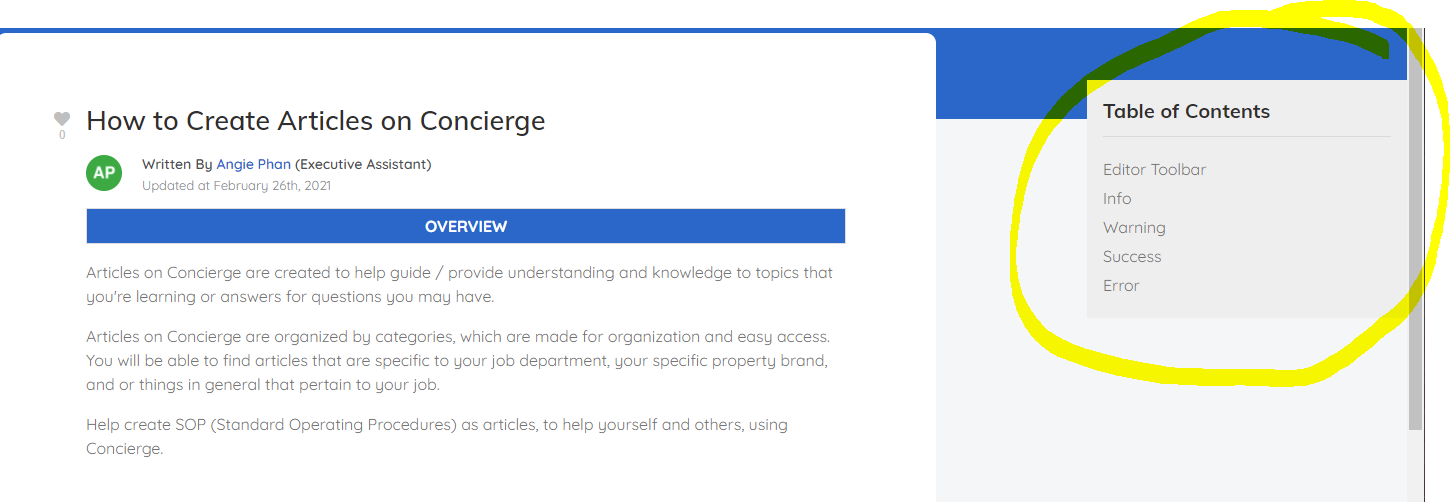
|
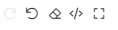 Redo, Undo, Clear Formatting, Code View and Full Screen Redo, Undo, Clear Formatting, Code View and Full Screen |
These options are quite self explanatory. If you undo some work, the redo button will appear. If you click clear formatting, it will erase everything in the article. If you click code view, it will show the HTML coding/codes embedded in this article. If you click full screen, then the drafting screen for this article expands. This is normal draft page view... 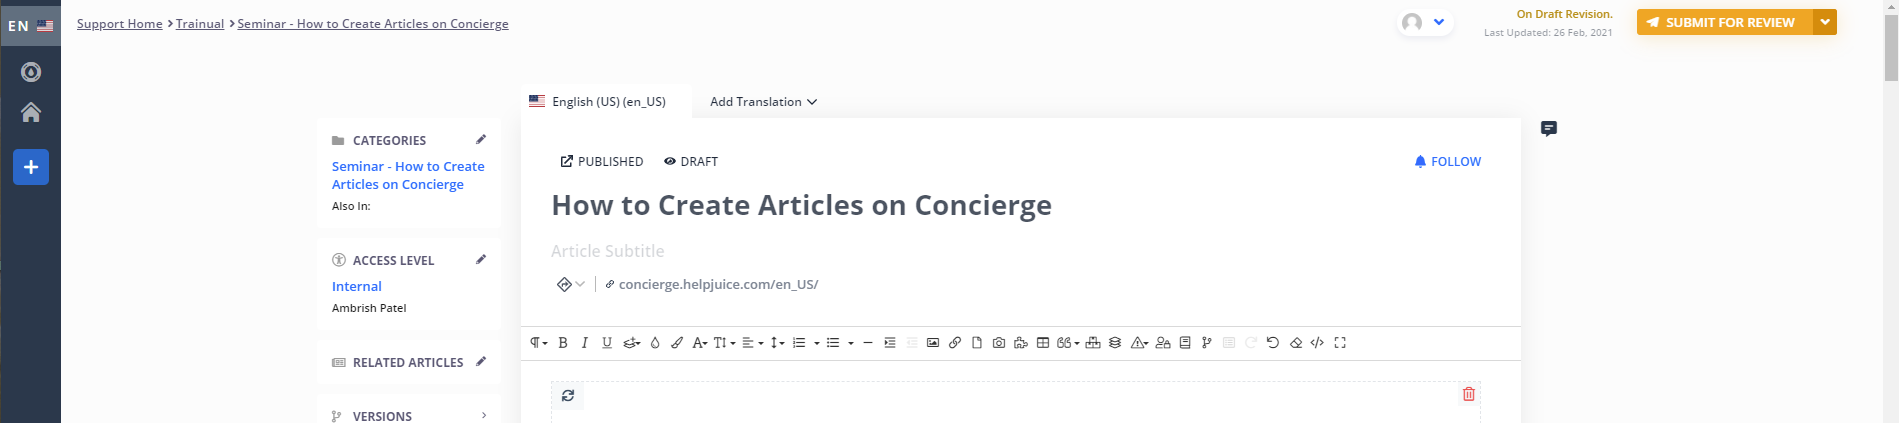 And this is full screen drafting page view... 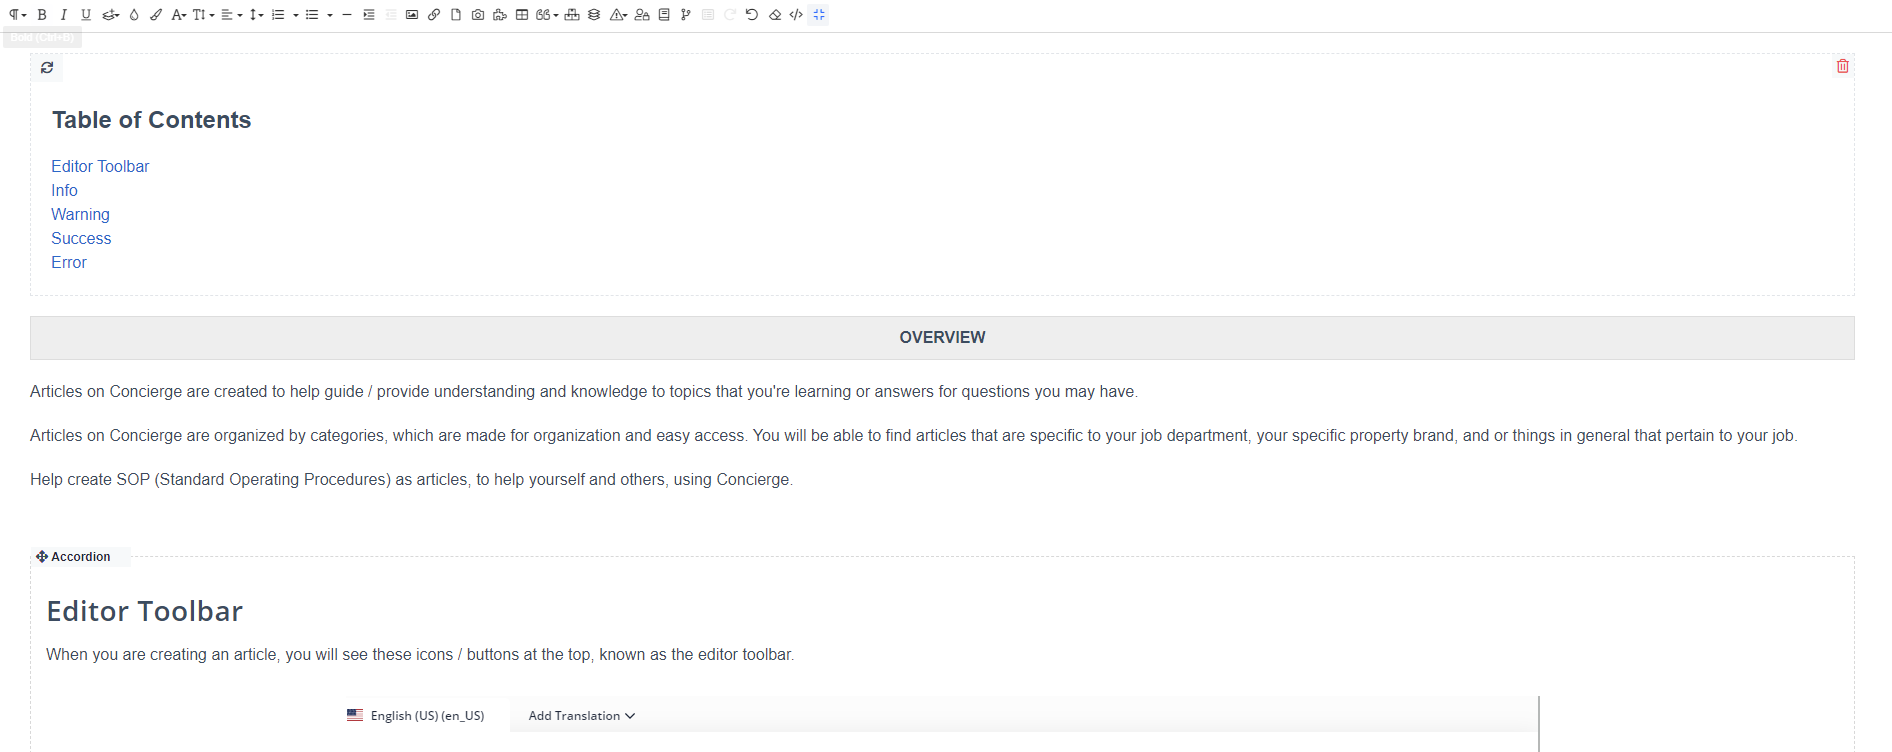
|

Advanced Editor Toolbar Functions
tabs, internal block, alert block, accordian, decision tree, quotes
Panel title
dictionary, table of contents, tables, add to glossary (highlight the word click on glossary, and put in definition, if the word is already in the glossary, it links on its own)
Viewing Your Drafted Article
It's a good idea to view your work, after you add things and remove things. (FYI: After each edit/added info etc. your article for the most part, auto saves the progress)
- To view your drafted work:
- Click the draft button at the top of your article with the eye symbol.
- Another browser tab will open up with what your article should look like, if it were to be published.

Contacting the Help Desk / Support Chat
Sometimes things might not look as you had hoped when it's published. Sometimes it's just a program glitch, and luckily this program has a great help center. You can access their "Knowledge Base" to troubleshoot common problems. They're available to assist with questions through live chat.
- You've probably noticed this button in the bottom right corner.
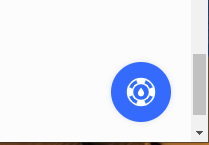
- Clicking on that button will open up this window.
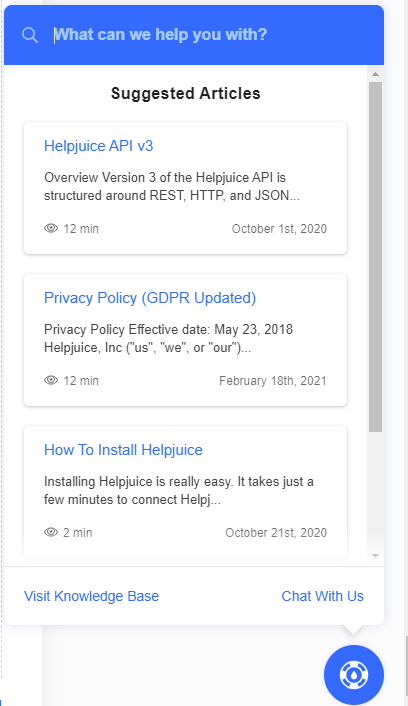
- Choose Visit Knowledge Base - if you'd like to view their articles on troubleshooting common questions and issues.
- Choose Chat With Us - if you'd like to speak to someone live. If they have not responded in time, their response will also be emailed to the email address that your Concierge Helpjuice account is connected to.
Submitting Your Draft
- Finally submit your draft for revision from your manager
- Click the button in the top right corner, "SUBMIT FOR REVIEW"
